Free Crochet Pattern

Materials:
Worsted weight/ Size 4 yarn
Christmas Tooshie Color- Caron Simply Soft: Party ~ Royal Sparkle
Ornament Cap Color - Big Twist: Twinkle - Gray
4.00 mm Crochet Hook
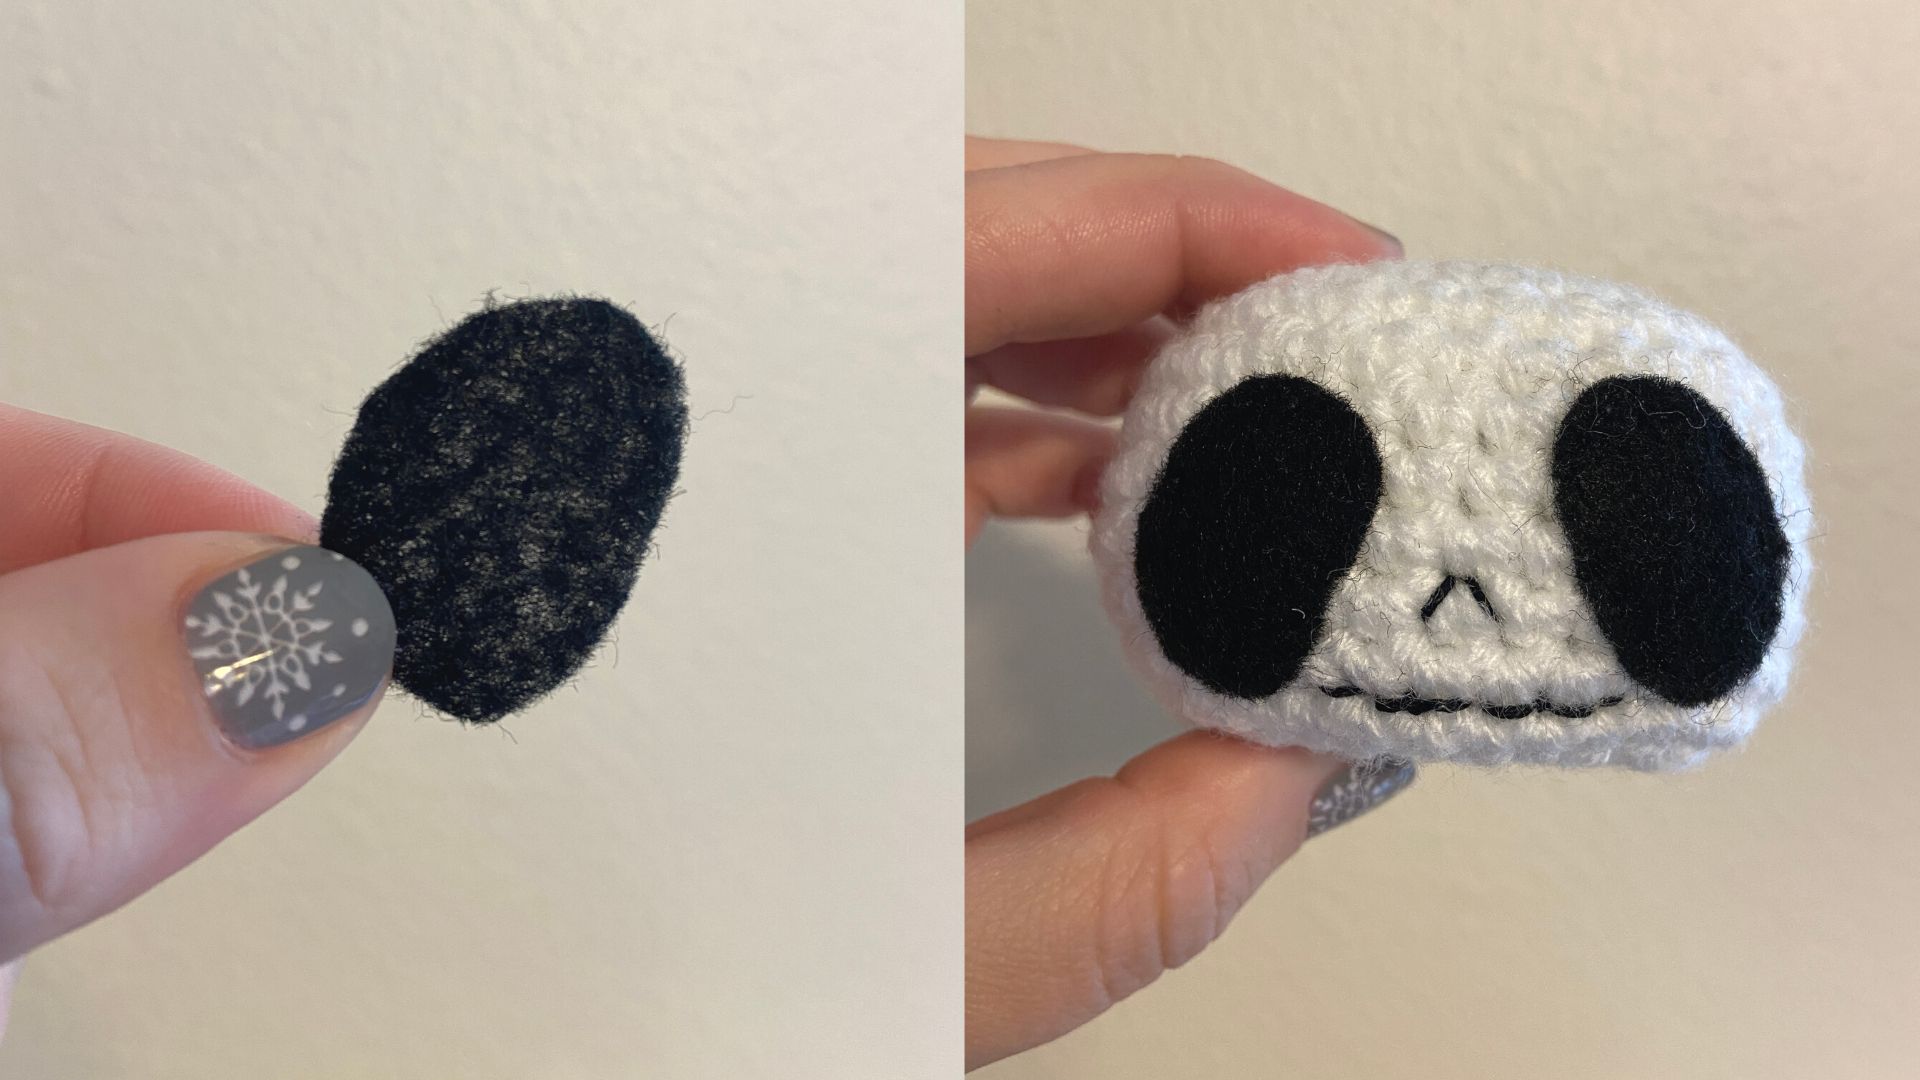
15mm Safety eyes
Poly-fil stuffing
Yarn Needle
Embroidery Floss - Black and Pink
Stitch Markers
Terms:
mr - magic ring
slp - slip stitch
ch - chain
st - stitch
rnd - round
row - row
sc - single crochet
blo - back loop only
inc - increase (2sc in the same stitch)
invdec - invisible decrease
Notes:
Invisible decrease - put hook through the front loop of two single crochet stitches, yarn over and pull up loop (two loops on hook) yarn over and pull through two loops.
*This pattern is worked from the top down in a continuous round.
*Use a stitch marker to mark the beginning of the rounds.
*The Booty Crew can be made in any size yarn. So have fun playing with different yarn and hook sizes.
**You may make and sell finished products from this pattern. Don’t forget to credit Crochet by Sarah Louise as the pattern designer. Please don’t copy or post this pattern or photos as your own.**

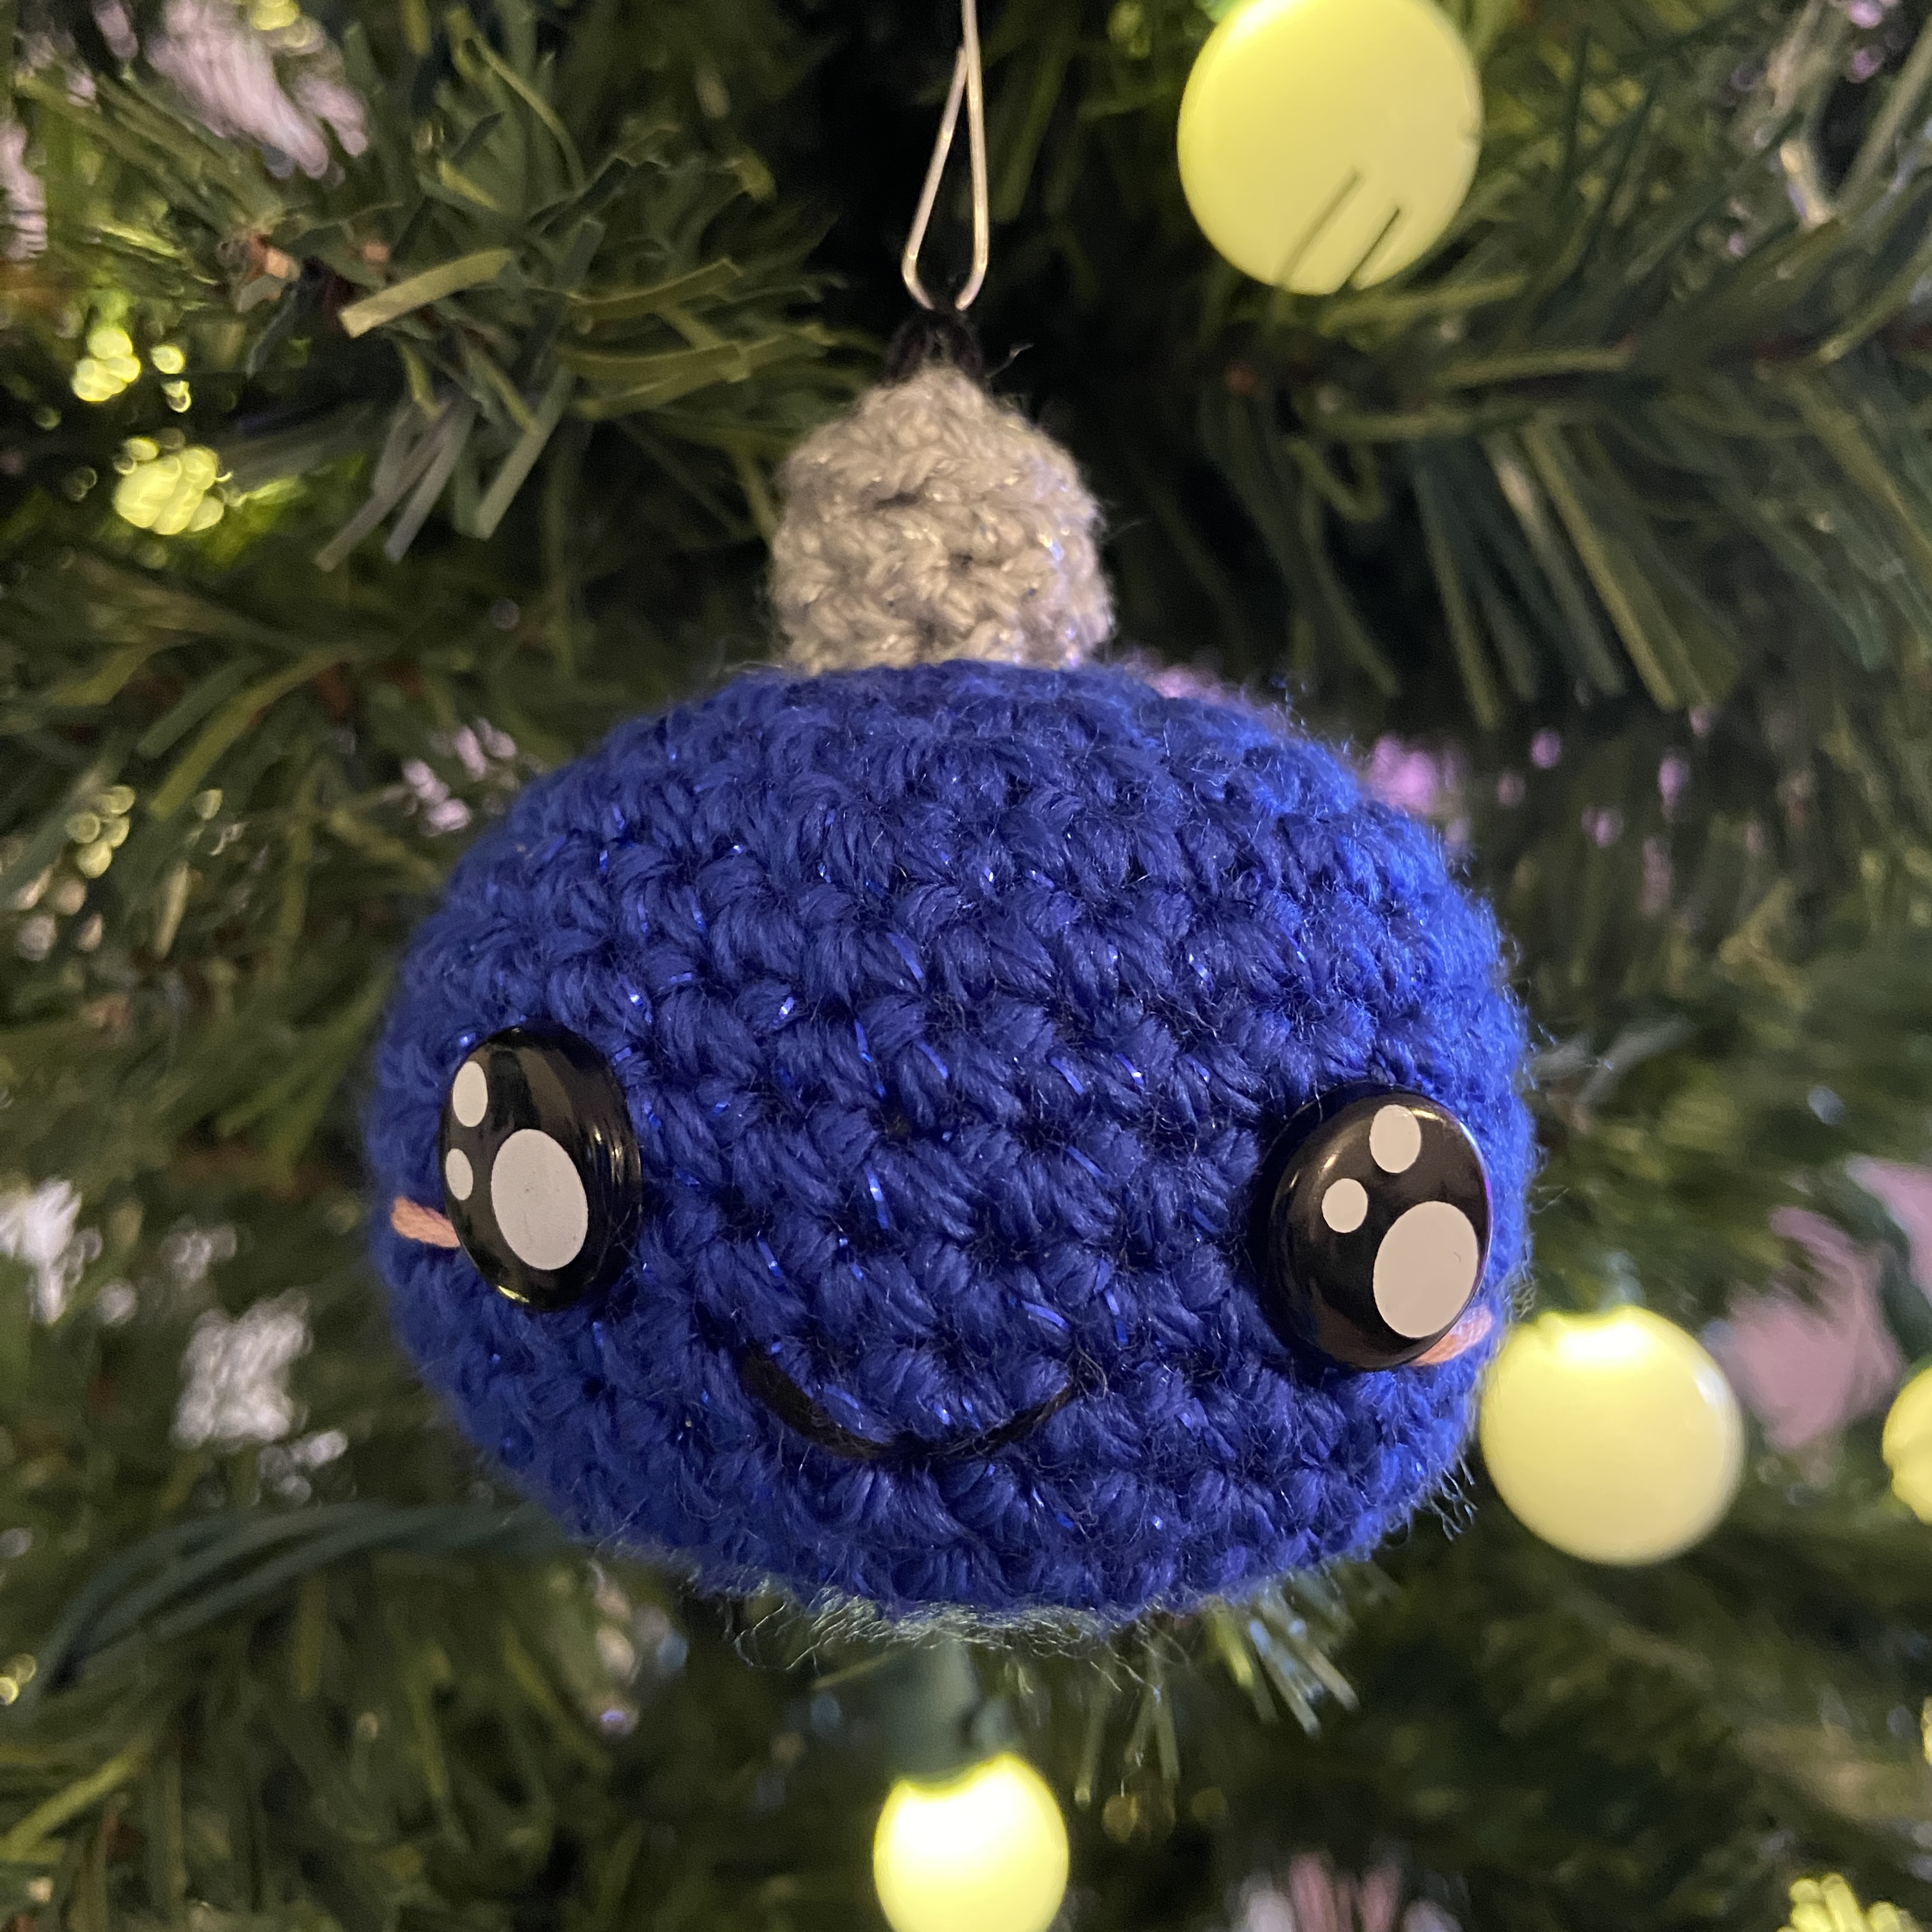
Body for Christmas Tooshie:
Body color ~ Royal Sparkle
Rnd1: 6 sc in mr (6)
Rnd2: (inc), repeat 6 times. (12)
Rnd3: (inc, 1 sc) repeat 6 times. (18)
Rnd4: (inc, 2 sc) repeat 6 times. (24)
Rnd5: (inc, 3 sc) repeat 6 times. (30)
Rnd6 - 12: 1 sc in every st around. (30)
Rnd13: (invdec, 3 sc) repeat 6 times. (24)
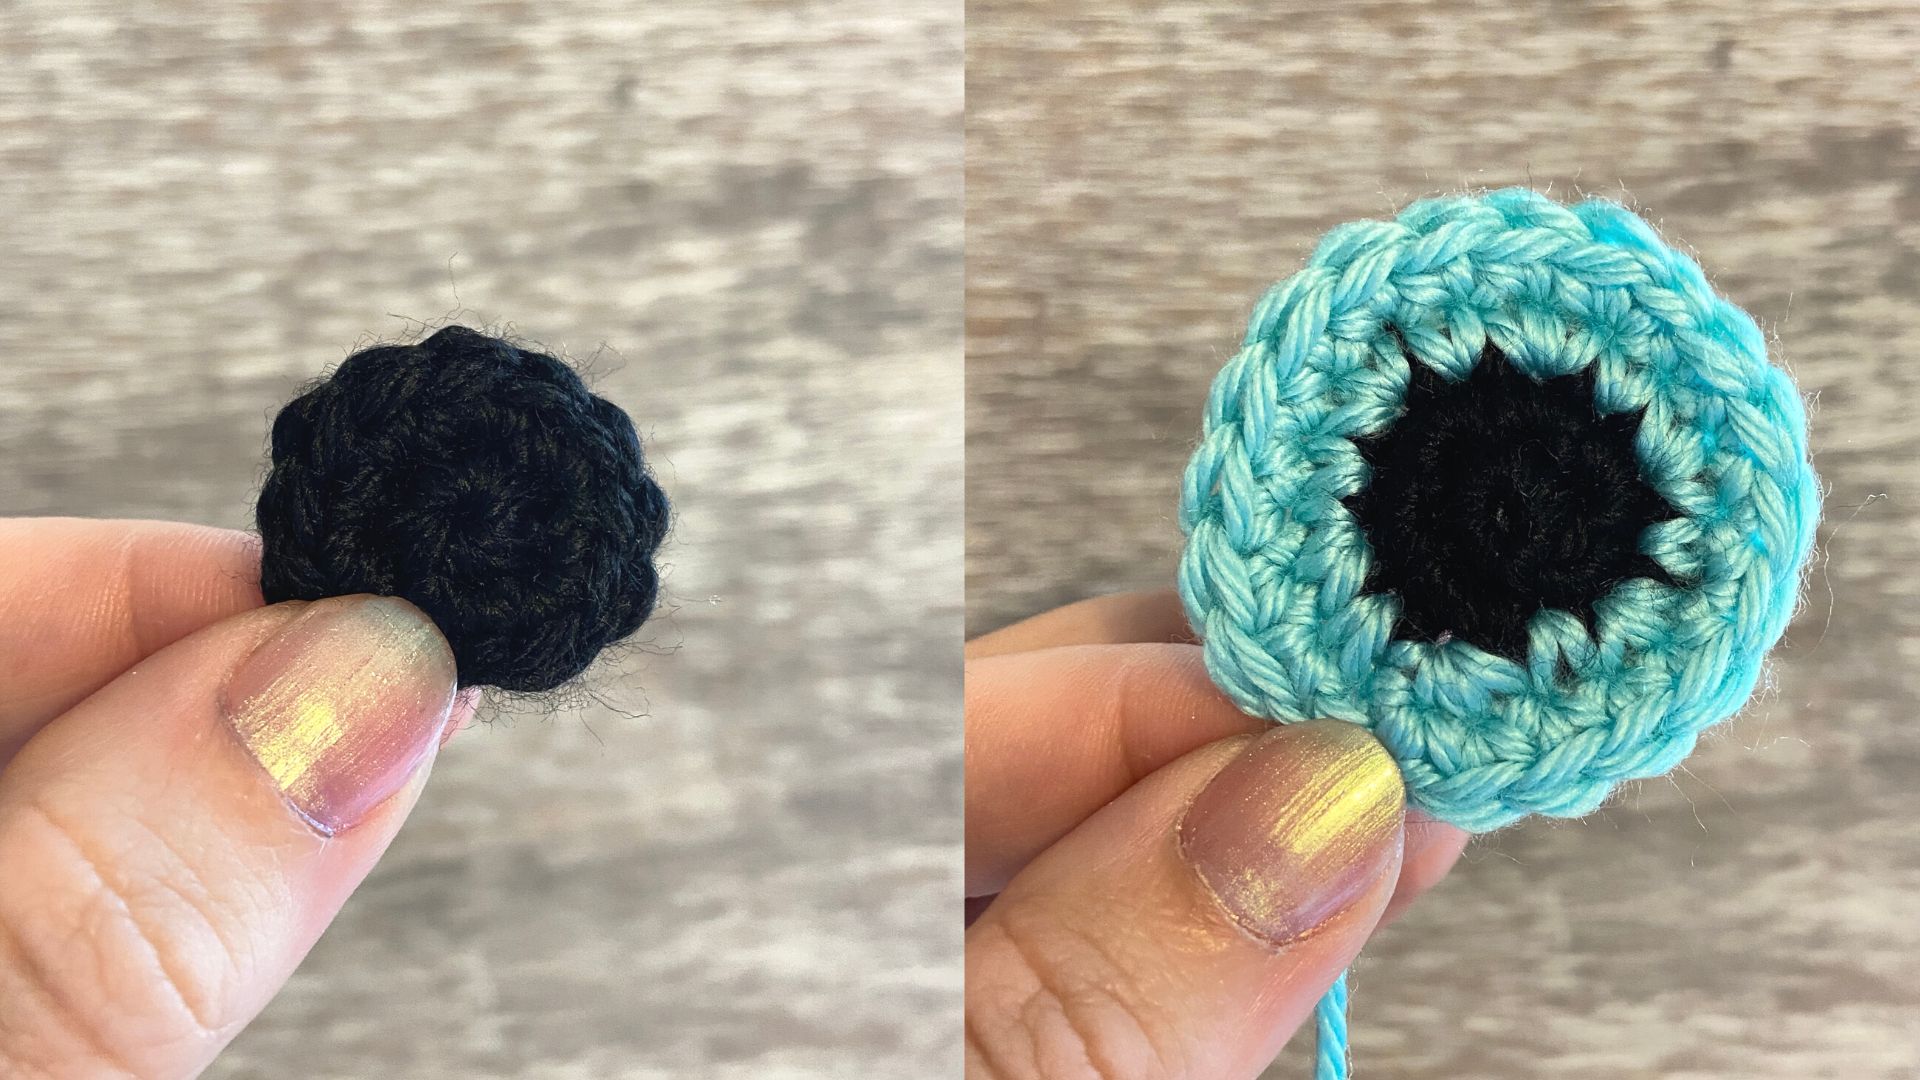
Place eyes between rounds 8 and 9, 5-6 st apart.
Rnd14: invdec, repeat 12 times (12)
Begin stuffing
Rnd15: invdec, repeat 6 times (6)
Fasten off. Leave a long tail for closing hole and shaping booty. Close hole by sewing into front loops only with tail. Pull tight.
Making the booty: Using the same tail. Insert needle through center hole at Rnd15 and bring out center back at Rnd9. Make line with the yarn insert needle back in center hole at Rnd15. Bring needle through Rnd9 pull yarn tail tightly. Repeat for more definition. Knot and fasten off. Weave tail in.
.png)
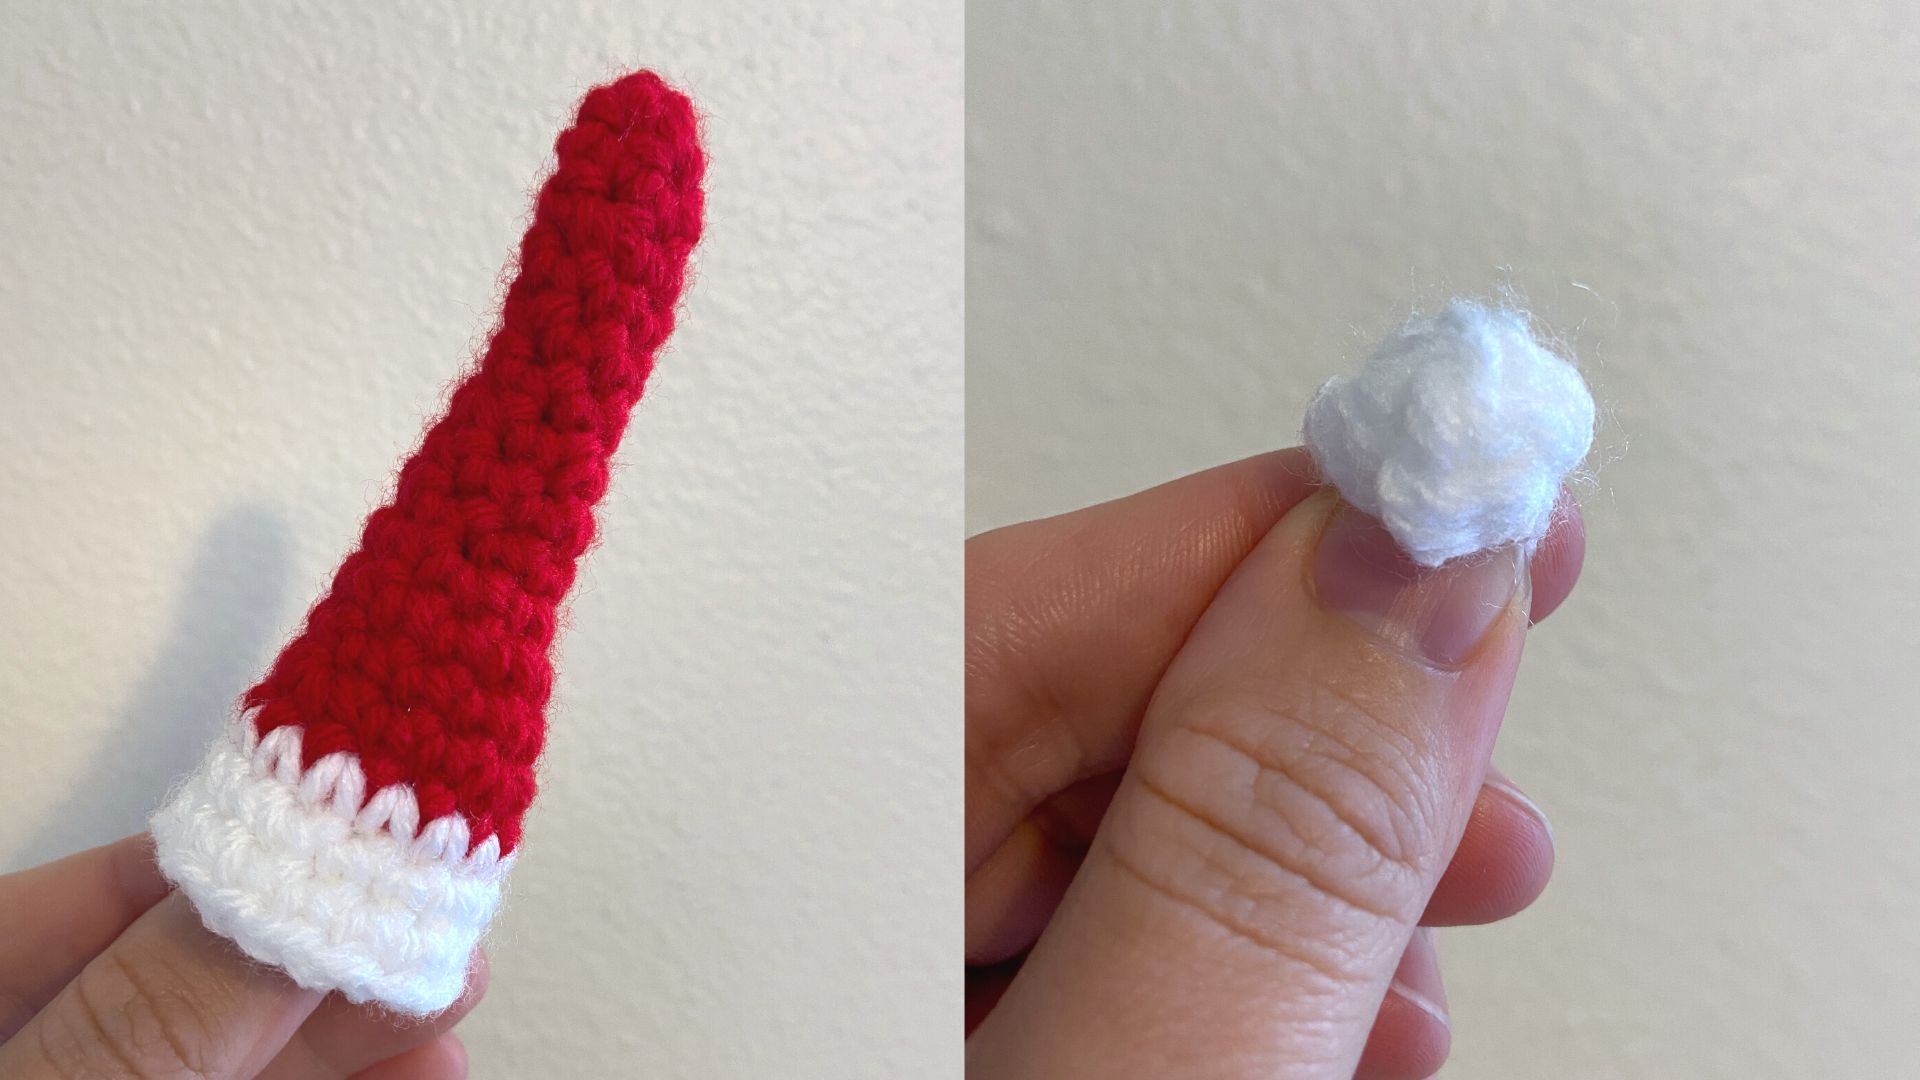
Cap Color ~ Gray
Rnd1: 3 sc in mr (6)
Rnd2: (inc), repeat 3 times. (6)
Rnd3: blo 1 sc in every st around. (6)
Rnd4: 1 sc in every st around. (6)
Fasten off and leave tail for sewing. With back embroidery floss make a loop on top of the cap. Make sure embroidery floss is secured to the top of the ornament cap. Stuff cap lightly and sew to top of Christmas Tooshie.
.jpeg)
Final Touches for Christmas Tooshie:
Use black embroidery floss to a mouth to the front of Christmas Tooshie’s face. Use pink embroidery thread to add cheeks next to the eyes.

.png)
**Don’t forget to credit Crochet by Sarah Louise as the pattern designer. Please don’t copy or post this pattern or photos as your own. I would love to see your beautiful work. Please share a photo! Don't forget to tag @crochetbysarahlouise and use hashtags (#crochetbysarahlouise, #cbslpatterns, #crochetwithsarah)


.png)


.png)


.png)


.png)


.png)